EN
EN

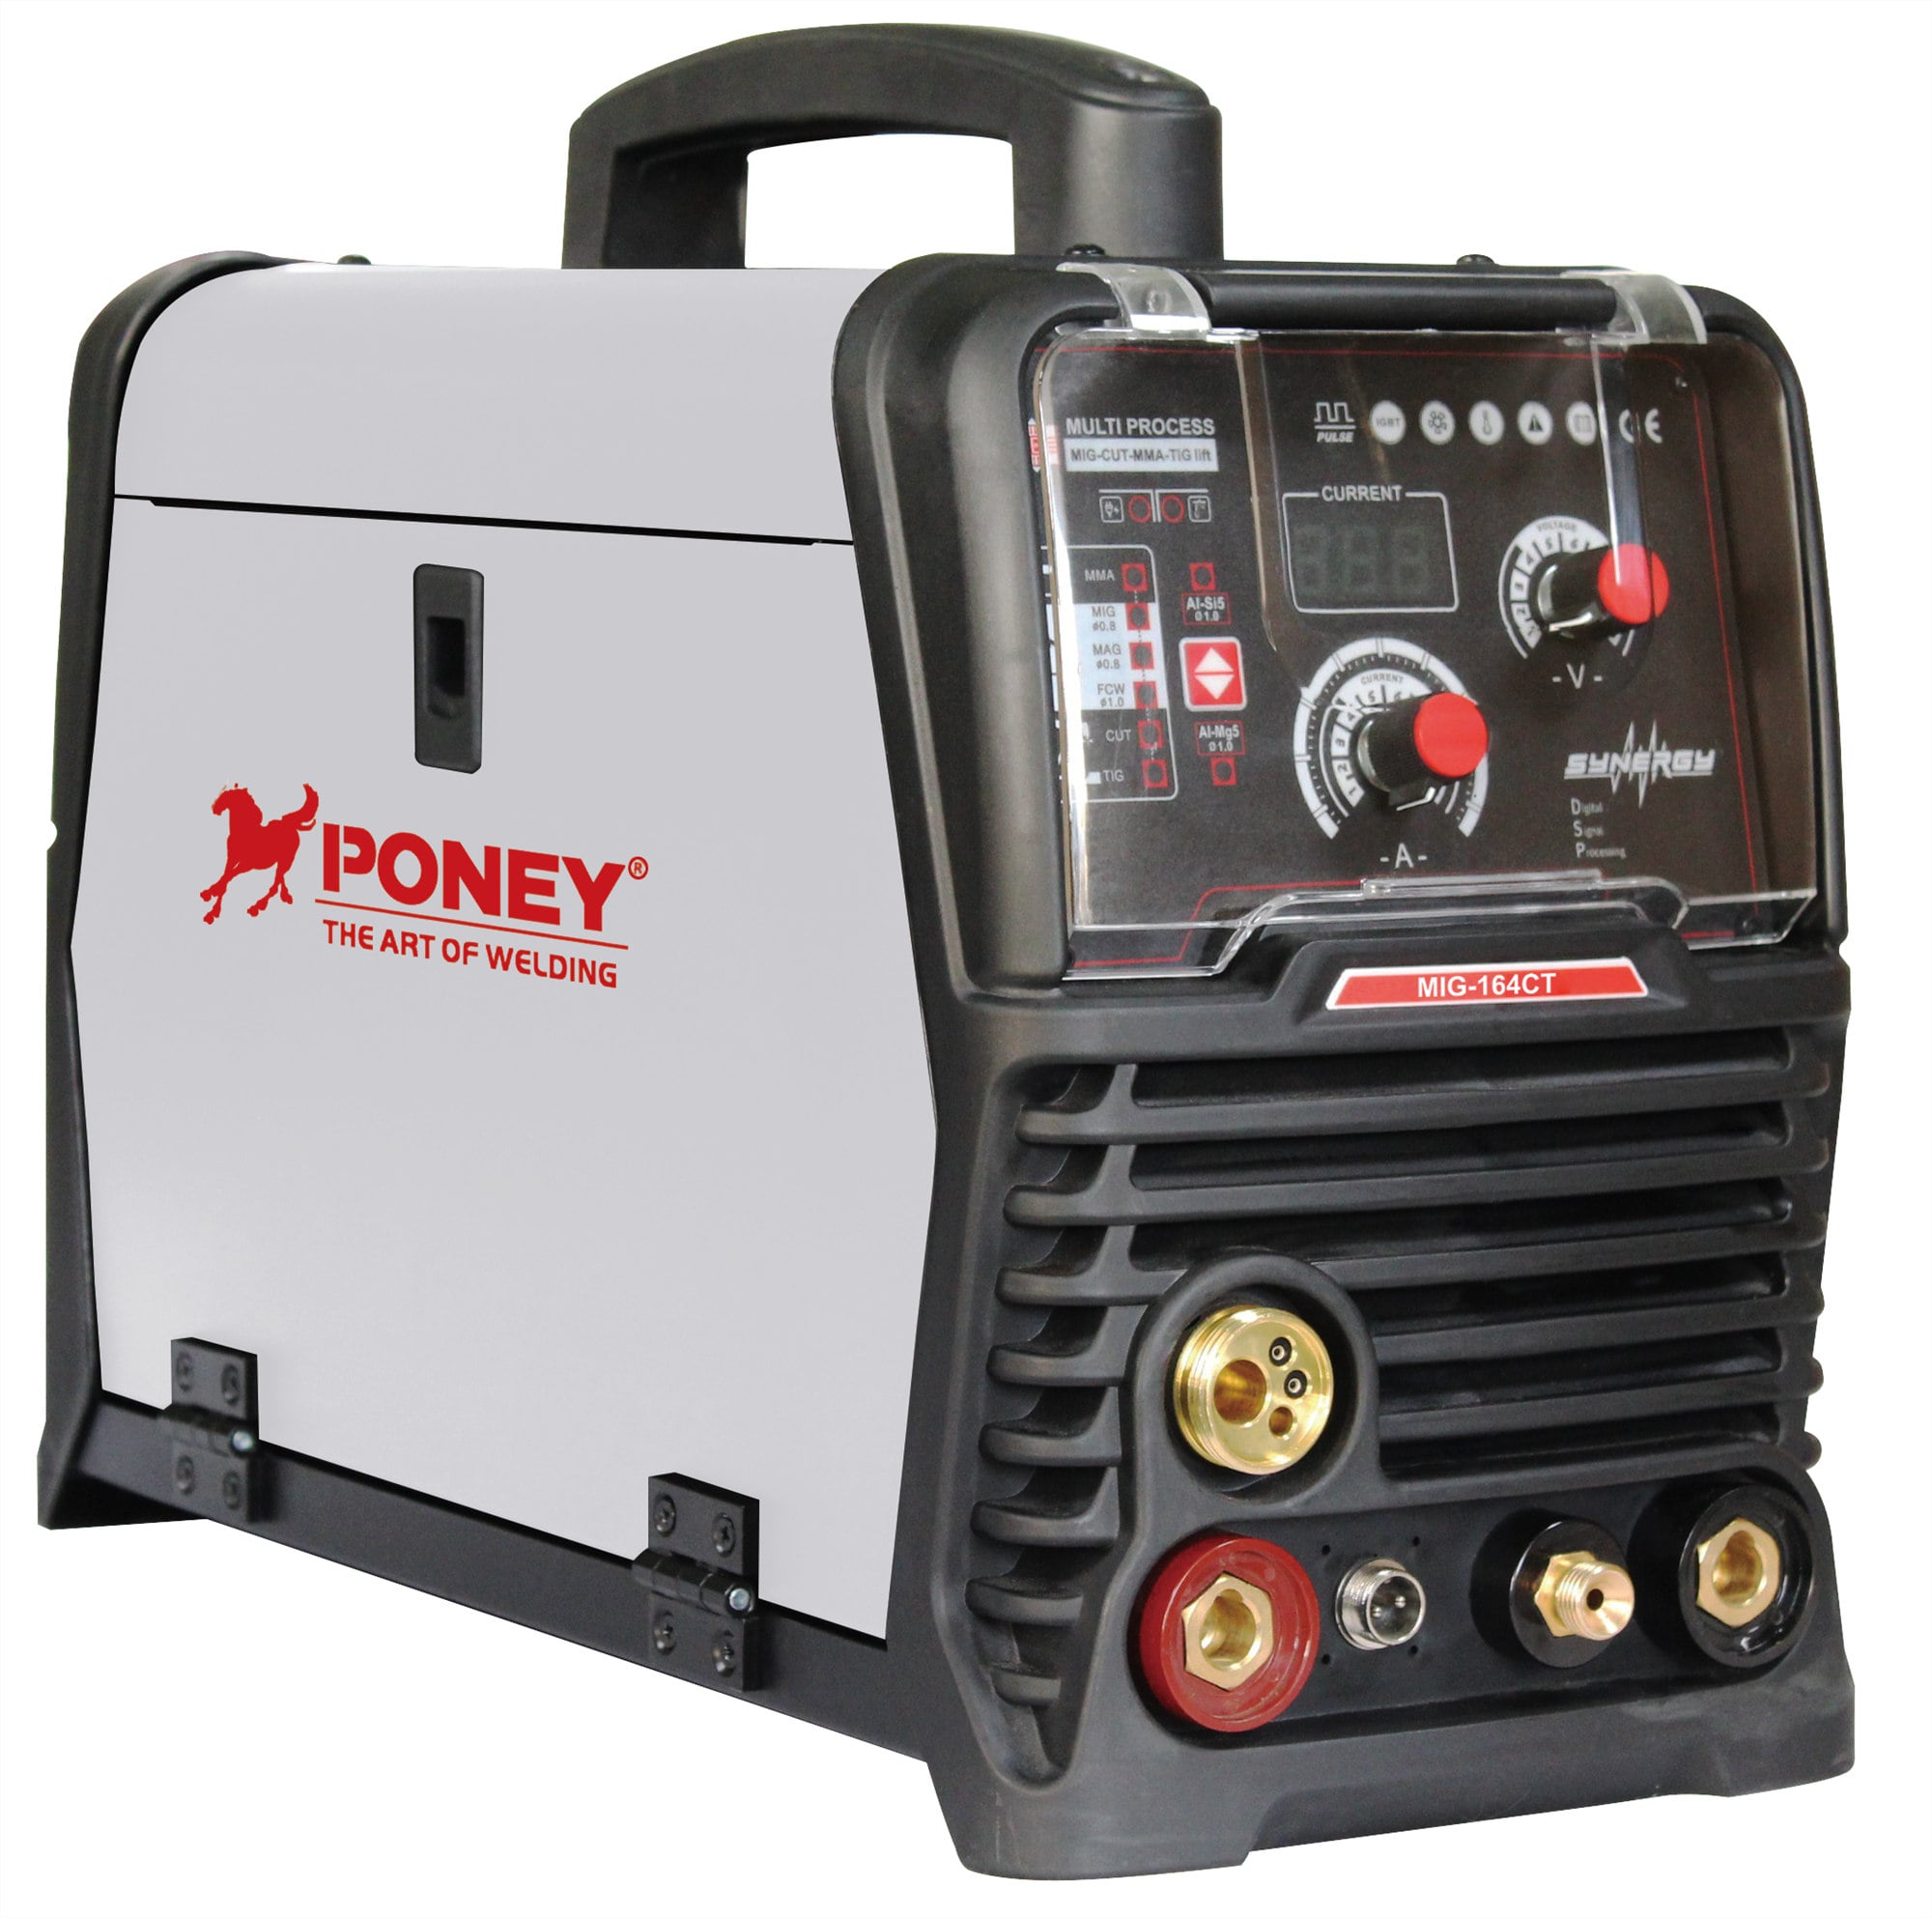
Deploying an aluminum welder into your production environment requires careful attention to process adjustments that go far beyond simply turning on the equipment. An aluminum welder operates under fundamentally different constraints than steel welding systems, and overlooking critical setup parameters can result in poor weld quality, reduced efficiency, and costly rework. Understanding which process adjustments matter most ensures your aluminum welder performs reliably from day one and maintains consistent output over time.
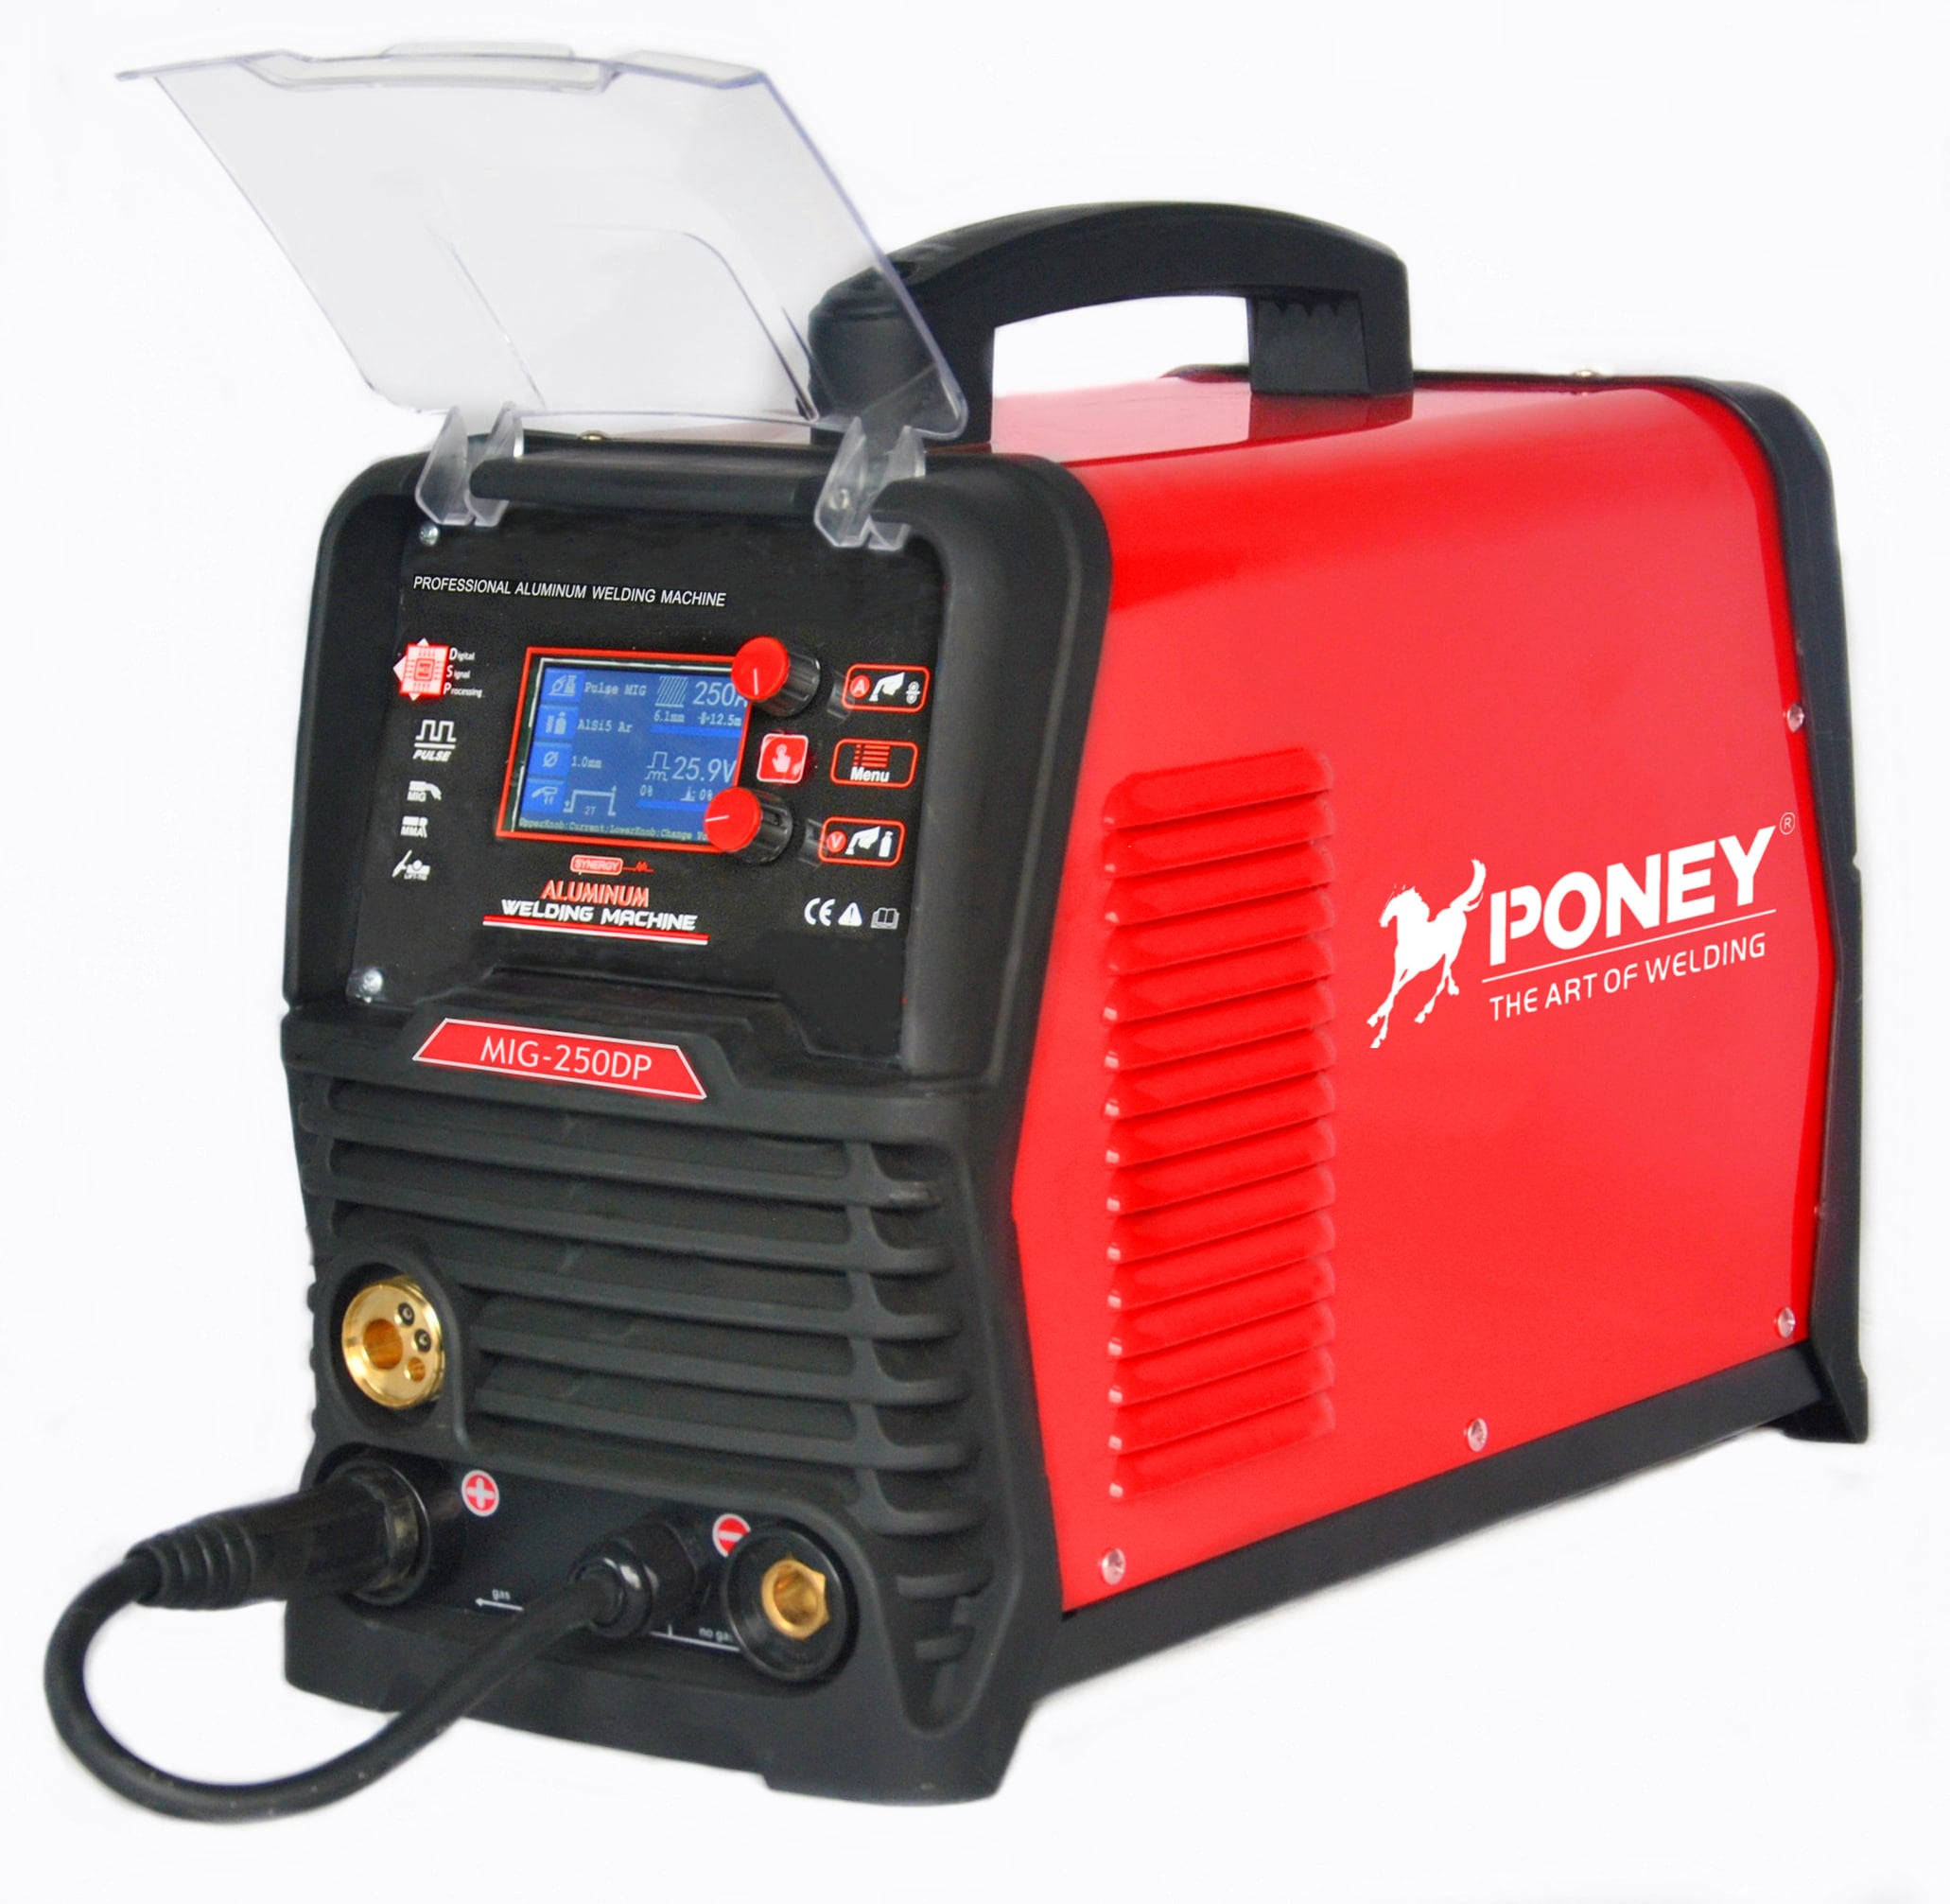
When you bring an aluminum welder into your facility, the investment is substantial, and the implementation timeline is critical. The success of that deployment hinges not on the machine's raw capability but on how systematically you address the operational, environmental, and procedural changes that aluminum welding demands. This article explores the most important process adjustments that directly impact aluminum welder performance and explores how to execute them effectively.
Critical Electrical and Current Settings for Aluminum Welder Performance
Understanding AC and DC Current Modes
An aluminum welder must operate with the correct current type to handle aluminum's unique metallurgical behavior. Alternating current (AC) is traditionally preferred for aluminum because it provides cathodic cleaning action, which removes the aluminum oxide layer that can trap defects and reduce penetration. When deploying an aluminum welder with AC capability, verify that your facility's electrical infrastructure supports the required input capacity. Most industrial aluminum welders demand 220V or higher three-phase power, and undersized electrical service will cause voltage drop, which severely degrades aluminum welder arc stability and weld bead consistency.
Direct current electrode negative (DCEN) capability in an aluminum welder is increasingly valuable for specific applications such as robotic welding and thin-gauge work, where faster travel speeds and reduced heat input are advantageous. The choice between AC and DC modes depends on your part geometry, thickness, and production requirements. Establishing the correct current mode before full deployment prevents mid-production failures and ensures your aluminum welder delivers predictable results across your part mix.
Amperage and Frequency Adjustments
Amperage selection is one of the most consequential process adjustments for an aluminum welder, yet it is often set incorrectly during startup. Too low an amperage creates cold weld beads that lack fusion and mechanical strength, while excessive amperage burns through thin material and creates stress concentration at the heat-affected zone. When deploying an aluminum welder, establish baseline amperages for each material thickness in your production envelope by conducting test welds and measuring both mechanical properties and surface appearance.
For AC aluminum welder systems, frequency adjustment directly influences arc stability and penetration profile. Higher frequencies (typically 50–200 Hz depending on the aluminum welder model) reduce spatter, improve arc initiation, and produce narrower heat-affected zones compared to standard 50 Hz power. Modern aluminum welder equipment often includes digital frequency control, which should be tuned during deployment to match your specific base metal thickness and joint configuration. Establishing documented frequency and amperage combinations creates a reference library that accelerates ramp-up and reduces operator error across your production team.
Shielding Gas and Torch Consumables for Aluminum Welder Setup
Gas Purity and Flow Rate Configuration
The choice of shielding gas is non-negotiable when deploying an aluminum welder, and purity directly impacts weld quality. Argon is the standard shielding gas for aluminum welder applications because it provides excellent arc stability and protects the molten puddle from atmospheric contamination. When setting up your aluminum welder, confirm that your gas supply is certified to at least 99.99% purity; lower-grade gas introduces nitrogen and oxygen, which cause brittle welds and oxide inclusions. Establishing a dedicated gas line from your facility's supply to the aluminum welder prevents cross-contamination from steel welding or compressed air systems.
Flow rate is equally critical to gas purity when operating an aluminum welder. Insufficient flow (typically 15–25 CFM for manual aluminum welder torches) leaves portions of the weld pool exposed to air, causing oxidation and reduced mechanical properties. Excessive flow wastes gas, increases operating cost, and creates turbulence that draws contaminants into the shielding envelope. During aluminum welder deployment, test flow rates by observing arc behavior and the appearance of completed test welds; the correct flow creates a stable arc with smooth, silver-colored bead appearance and minimal porosity on radiographic inspection.
Torch and Electrode Consumable Specifications
An aluminum welder requires torch and electrode specifications matched precisely to your application, and incorrect consumables are a hidden cause of deployment failures. Tungsten electrodes must be pure tungsten or zirconiated tungsten for AC aluminum welder work; thoriated electrodes used in steel welding cause severe spatter and poor arc starts with aluminum. When deploying an aluminum welder, stock the correct electrode diameter range (typically 1/16 inch to 3/32 inch for most aluminum work) and establish a consumable replacement schedule that prevents electrode degradation from introducing inconsistency into your welds.
Torch size and cup geometry are equally important adjustments for aluminum welder success. Larger cups provide better gas coverage for manual welding, while smaller cups improve visibility for tight joint access. When deploying an aluminum welder into your facility, conduct fit trials on your typical part geometries to confirm that the selected torch configuration allows operators to achieve proper electrode standoff distance (typically 1/8 inch to 1/4 inch) and joint angle without awkward positioning. Standardizing on one or two torch configurations simplifies inventory management and reduces operator learning curve during aluminum welder ramp-up.
Environmental and Pre-Weld Material Preparation for Aluminum Welder Deployment
Surface Cleaning and Oxide Layer Removal
Aluminum's propensity to form aluminum oxide (which melts at a much higher temperature than base metal aluminum) makes pre-weld cleaning essential when deploying an aluminum welder. Oxide film prevents fusion and traps gas porosity, rendering welds brittle and prone to service failure. When setting up your aluminum welder production line, establish a mandatory cleaning step that removes oxide layer from all surfaces within 1 inch of the weld joint using either mechanical abrasion (wire brush) or chemical treatment. Stainless steel wire brushes must be dedicated to aluminum use; iron particles from steel brushes embed in aluminum and create corrosion sites.
The time interval between cleaning and welding directly impacts the aluminum welder's ability to produce sound welds. Aluminum oxide reforms within hours of cleaning, so scheduling material preparation immediately before the aluminum welder operation maximizes cleaning effectiveness. During deployment, establish visual inspection checkpoints that confirm surface cleanliness before material enters the aluminum welder torch area. This seemingly simple procedure prevents recurring weld defects and establishes operator discipline that sustains quality throughout your production run.
Environmental Temperature and Humidity Control
When deploying an aluminum welder, environmental conditions significantly influence arc stability and final weld properties. Aluminum's high thermal conductivity means that cold base metal acts as a heat sink, requiring the aluminum welder to deliver more energy to achieve fusion; conversely, excessively high ambient temperatures can soften the aluminum microstructure and reduce joint strength. Most aluminum welder equipment operates optimally between 60°F and 85°F, and deviations outside this range require amperage adjustment to maintain consistent penetration.
Humidity control is an often-overlooked adjustment during aluminum welder deployment. High moisture levels increase the likelihood of hydrogen absorption into the molten weld pool, causing delayed cracking hours or days after welding. Establishing environmental monitoring during your aluminum welder startup phase allows you to correlate moisture conditions with weld quality data, enabling you to set humidity thresholds that maintain defect rates below acceptable limits. Simple humidity sensors and dehumidification equipment in the aluminum welder work area represent low-cost insurance against field failures caused by environmental conditions.
FAQ
What is the optimal pre-heat temperature for an aluminum welder?
Most aluminum welder applications do not require pre-heating because aluminum conducts heat too rapidly for pre-heat to provide meaningful benefit; however, thick sections (over 1/2 inch) or aluminum alloys with high copper content may benefit from moderate pre-heating to 200–300°F to reduce thermal stress and improve fusion. Consult your specific aluminum welder equipment manual and the applicable welding procedure specification for your alloy to determine whether pre-heating is necessary. Excessive pre-heat temperatures can degrade aluminum microstructure and create residual stress, so caution is advised when deploying an aluminum welder on thick material.
How does an aluminum welder handle dissimilar metal joints?
Joining aluminum to other materials using an aluminum welder requires extremely careful process adjustment because thermal expansion coefficients and melting points differ dramatically. Aluminum to steel joints demand special filler metals and significantly higher amperage than pure aluminum, and successful results typically require specialized fixturing and extensive procedure qualification. Many manufacturers recommend against aluminum welder use for dissimilar metal applications because the risk of joint failure is high; if your production includes such joints, consult with a welding engineer to develop a validated procedure before full deployment of your aluminum welder.
What maintenance schedule should guide aluminum welder operation?
An aluminum welder should undergo preventive maintenance every 40–50 hours of operation to ensure consistent performance and longevity. This includes cleaning out aluminum debris from gas lines and torch cups, inspecting tungsten electrodes for degradation, checking electrical connections for corrosion, and verifying gas purity with a dedicated flow meter. Establishing a documented maintenance log when you deploy your aluminum welder creates accountability and allows you to track correlations between maintenance events and weld quality improvements, helping you optimize uptime and defect rates across your production environment.